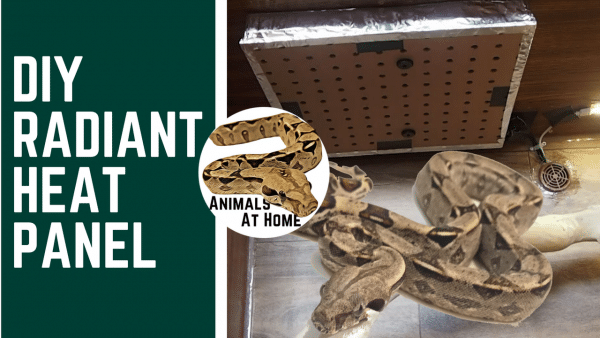
This post is a breakdown of my How to Make: Reptile Radiant Heat Panels Tutorial.
As I stated in the How to Make Reptile radiant heat panels video, I did not record the process but hopefully this will give you a really good idea of how I made my own radiant heat panels! This radiant heat panel was designed with snakes in mind, but would work for most reptiles.
Try this at your own risk! I take full responsibility for the safety of this setup for myself, but cannot recommend anyone copy what I have done unless you are willing to do the same.
Scroll to the bottom to view the total cost breakdown and PROS and CONS of this project!
Brainstorm
I stumbled across a very dated post on Ball-Pythons.net, which the original poster described how he build he’s own radiant heat panel from Flexwatt Heat tape and plexiglass. Unfortunately, all the pictures were gone and it was pretty tough to fully understand how he did it (maybe you’ll have better luck?). But it got me thinking!
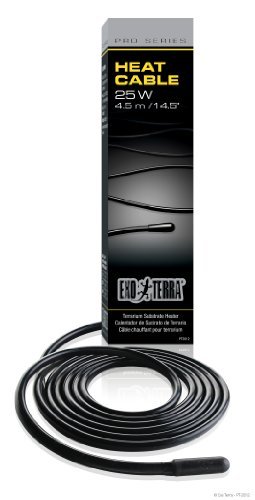
I already had some spare Exo-Terra heat cable, which in my opinion is slightly safer than heat tape for some reason. I think mainly there is less chance of user error with heat cable as it requires no wiring, etc.
The first problem was figuring out what material(s) to house the cable in. I tossed around a bunch of ideas from ceramic tile to acrylic sheets. Finally I decided to got with pegboard for the bottom and Styrofoam for the top.
The Materials: DIY Reptile Radiant Heat Panels
Below is a picture of the pegboard. You can buy pegboard in your local hardware store in the plywood section. It is very inexpensive. I settled on pegboard for a few reasons:
- Light weight
- Porous i.e. the cable has the opportunity to heat air as well rather than just the board itself
- High ignition temperature (450-500°F)

As I said above, the top layer is Styrofoam. I went with 1″ thick pink Styrofoam that I found at my local hardware store in a 2′ x 2′ square. I settled on Styrofoam because:
- Again, light weight
- High ignition temperature (500°F)
- Reduce heat transferring in the wrong direction i.e. I wanted to avoid (as best I could), heat through the top of the panel

**Ignition temperature refers to the temperature these materials will combust at WITHOUT a spark. These temperatures are well above anything the heat cable is capable of producing… although that doesn’t mean things can’t over heat and start melting/release fumes. I just means I won’t burn the house down. In any case, they are on a thermostat anyway!**
It was also necessary to pick up a roll of Multi-Purpose Foil Tape to help reflect the heat in the right direction, more on that below!

The Process
Step One:
I cut the pegboard (actually I had the hardware store throw it on the table saw) into a 1′ x 1′ square.
Step Two:
I cut the Styrofoam into a 1′ x 1′ square.
Step Three:
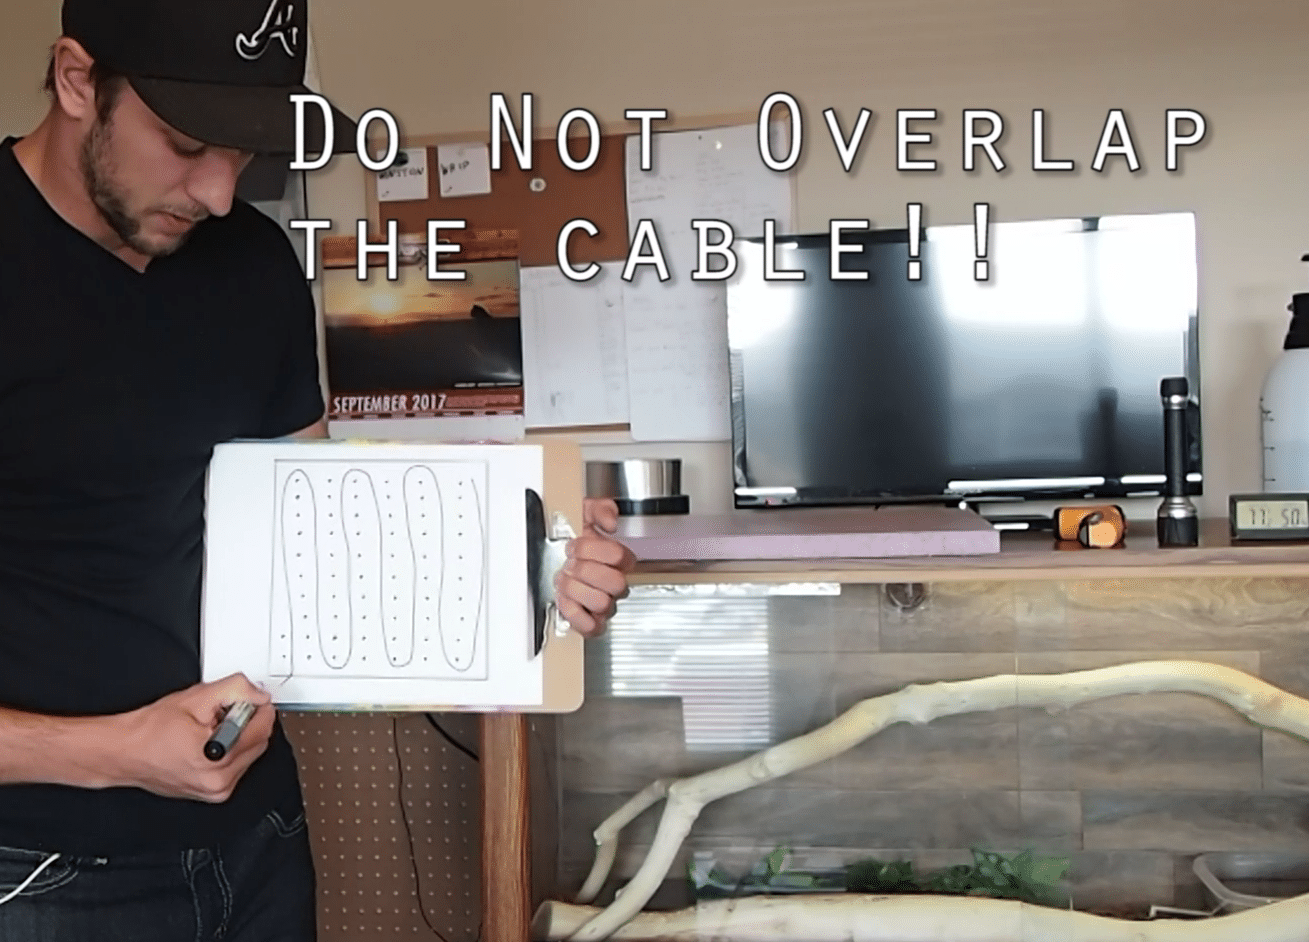
I snaked the heat cable back and fourth on the pegboard. I used Gorilla Tape to hold it in place. DO NOT OVERLAP THE CABLE in any place! That can create a dangerous hot spot. You are looking to have each “row” of cable at least 3 cm apart. Luckily if you let the pegboard guide you, it will be perfectly spaced.
The picture below is my best attempt at recreating what I did!
Step Four:
Then, I took my 1′ x 1′ square of Styrofoam (the picture is of a scrap piece of Styrofoam, it is larger than 1′ x 1′ so you have to use your imagination) and completely covered one side with the reflective tape.
Step Five:
Now it was time to put it all together! At this point I had:
- 1′ x 1′ pegboard with heat cable attached to one side
- 1′ x 1′ Styrofoam with foil tape completely covering one side
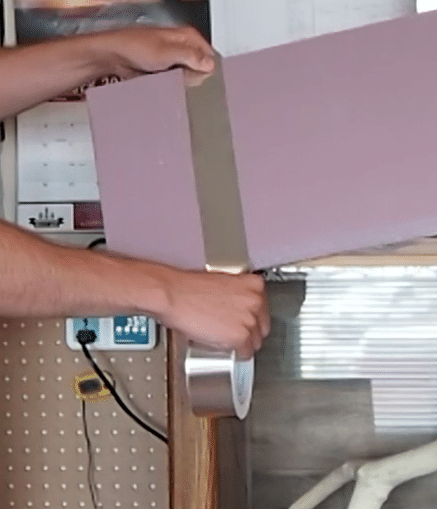
I sandwiched it all together by taping the Styrofoam to the pegboard, creating a nice little package. I used the Gorilla Tape to hold the two pieces together and then sealed the sides with Foil Tape.
If you were to take a cross-section of my diy radiant heat panel you would see this:
TOP TO BOTTOM:
- Styrofoam
- Foil Tape
- Heat Cable
- Pegboard
Hopefully that is relativity clear!

Temperature Control:
As I stated in the video I will be running these on a thermostat to control the temperature. It was suppose to be here already but it got damaged in shipping, I am now waiting for a different one to arrive. As you can see… I have a blank spot on my “control panel” waiting to be filled! Thermostats are very important as they help prevent injury to the animals and fires!
**Since these are diy radiant heat panels, my risk of fire may be higher than a store bought RHP. My first line of defense is a thermostat, and my second is the high ignition temperatures of the materials I choose. Both of these combined will make accidents extremely unlikely**

I am pretty excited to get my thermostat in the mail because it is WI-FI CONTROLLED… or at least that is what it claims. The thermostat is: Willhi Wifi Digital Smart Temperature Controller:
![]()
Hopefully this will allow me to monitor temperatures when I am away from home! I do have another (non-Wifi) thermostat from this same company (as you can see in the photo above). I really like it! Here’s why:
- It has a very long cable for the probe
- The probe itself is very slim (not bulky like some probes)
- The probe cable can be disconnected from the actual controller which can be very handy if you probe is taped in place like mine are. If the cable accidentally comes unplugged the controller beeps like all hell broke loose
- Relatively inexpensive compared to other herp thermostats
I will make sure to review the Wi-Fi model when I get it.
Even though I have two diy radiant heat panels running in two separate enclosures, I am only running them off of a single thermostat and I will set it to 85°F. Most likely they will run constantly as I have never seen the panels get the warm side over 84°F. I will place the probe in the top enclosure. The metrics in each enclosure are basically identical meaning if the top enclosure gets to hot, the bottom one is likely too hot as well.
Worst case scenario: the bottom one malfunctions and begins to over heat. If this occurs, it will trip the probe in the top enclosure before any damage can happen due to the heat that transfer through the top of the RHP’s.
How I use them and Results:
The reptile radiant heat panel’s are set on a timer. They turn on at 7:00 am and turn off at 10:00 pm, this allows me to simulate a temperature drop during the night.
I have been extremely impressed with the way these have held up so far. They bring they warm sides up to about 81-83°F by mid day and even create some warm spots on the wood decor of about 85-86°F. Although keep in mind, I do have a heat mat for a hot spot. In conclusion:
Pros:
- Inexpensive
- Easy to make
- Creates ideal warm side ambient temperatures
Cons:
- Not powerful enough to create a hot spot of 90°F i.e. a heat mat is still necessary (maybe higher wattage would help?)
- The Gorilla Tape is starting to soften a little bit due to the heat, I would probably use a more heat resistant tape next time around.
Material List/Cost Breakdown (CAD):
** These are the prices I paid. Click the links below to view the current prices**
- Styrofoam= $8.00 (Home Depot)
- Pegboard= $10.00 (Home Depot)
- Exo Terra Heater Cable-25-Watt= Click the link to view price (I paid $35 at PetSmart)
- Foil Tape= Click the link to view price (I paid $12 at Home Depot)
- Gorilla Tape= Click the link to view current price (I paid $15 at Home Depot, although I’d probably recommend a tape more resistant to heat)
TOTAL COST: $80.00 for two DIY Reptile Radiant Heat Panels! i.e. $40.00/RHP
Again, try this at your own risk! Be aware that this is a less safe option compared to a store bought RHP! Always run these on a thermostat!

How long did the cable last before you had to replace it?
I have yet to replace it, still works fine about 1.5 years later!
Excellent work. I am thinking about creating this for a turtle enclosure. I am thinking about using a metal face such as fencing material or BBQ grate vs. the pegboard. I figured this should be more efficient in thermal heat transfer.
Based on your usage, would you have any thoughts or concerns about using a metal material? Only one I could think of is potential burns due to contact by the pet owner. But since turtles wouldn’t be able to reach up high enough, I wasn’t concerned about burns to the turtles themselves. Eager to hear your thoughts.
Yeah, my main concern would burn…. but, as you said, with turtles that may not be an issue. I’m not sure how comfortable I would be using this design near water though. But that’s just me!