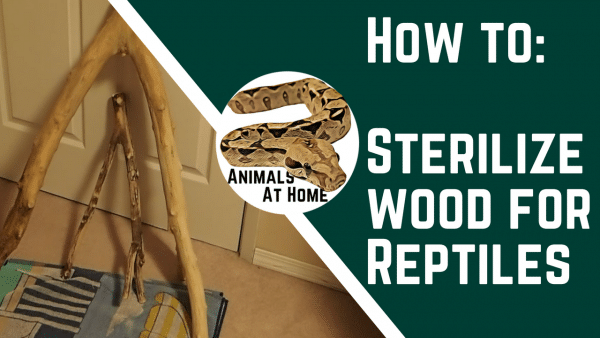
How to Sterilize Wood for Reptiles? I am guessing you are here because you recently had the experience below:
|
Every pet owner has had this experience: Hey, I am going to stop by the pet store to pick up a climbing branch for my animal… $35.00 for a stick?! HUH? Don’t you hate that? I know I do. |
SCROLL TO THE BOTTOM FOR THE VIDEO
If you follow my blog or my YouTube videos you know that I am all about including natural features in your reptile’s enclosure to enrich their environment! Adding real branches to the enclosure is a great way to achieve that… but who wants to spend a bunch of money on something you can get outside for free!
How to Sterilize Wood for Reptiles
Collect your Wood!
First you need to find some wood! Here are somethings to keep in mind:
- Stay with hardwood trees (Oak, Ash, Maple, etc.), softwood trees contain sap that can be toxic to your animal. Likewise, stay away from any hardwood trees that seem to be very “sappy” for whatever reason.
- Find an area that that is unlikely to have pesticides or chemicals sprayed. I.e. stay away from areas close to farmers fields (pesticides) or areas that may have been fogged for mosquitoes.
- I look for trees that have recently fallen down. You don’t want something that has been decaying for a long period of time. I guess live trees would work fine as well.

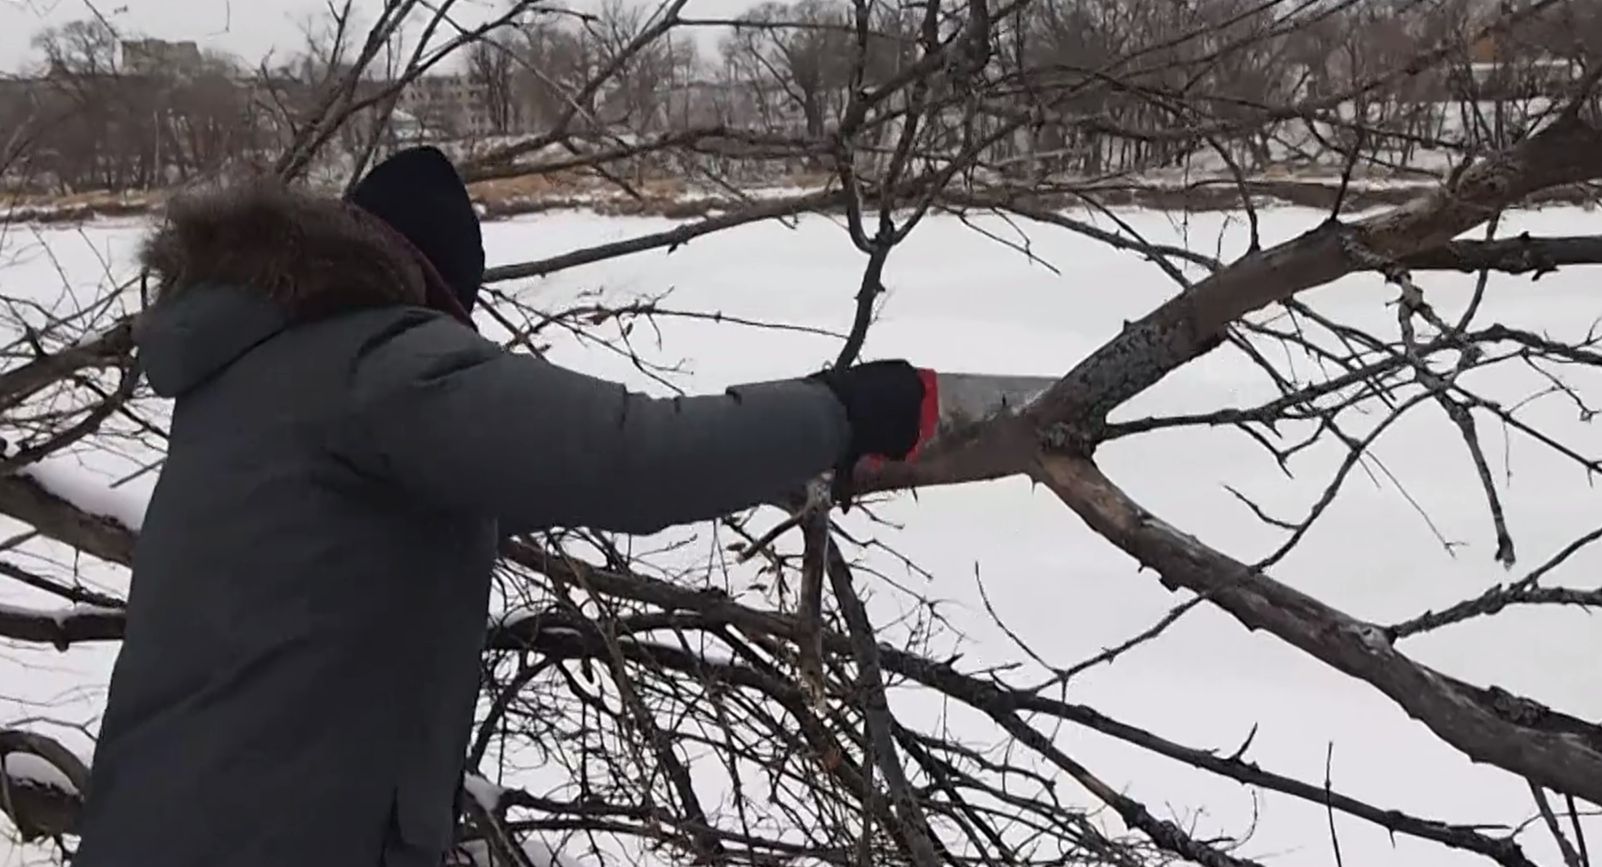
Clean Up the Branches
Once you have found a suitable branch you need to “clean it up”. In other words, use a hand saw and sandpaper to smooth out any areas that could cause an injury for your animal.

I generally use a hand saw to remove any sharp leftovers from smaller branches.
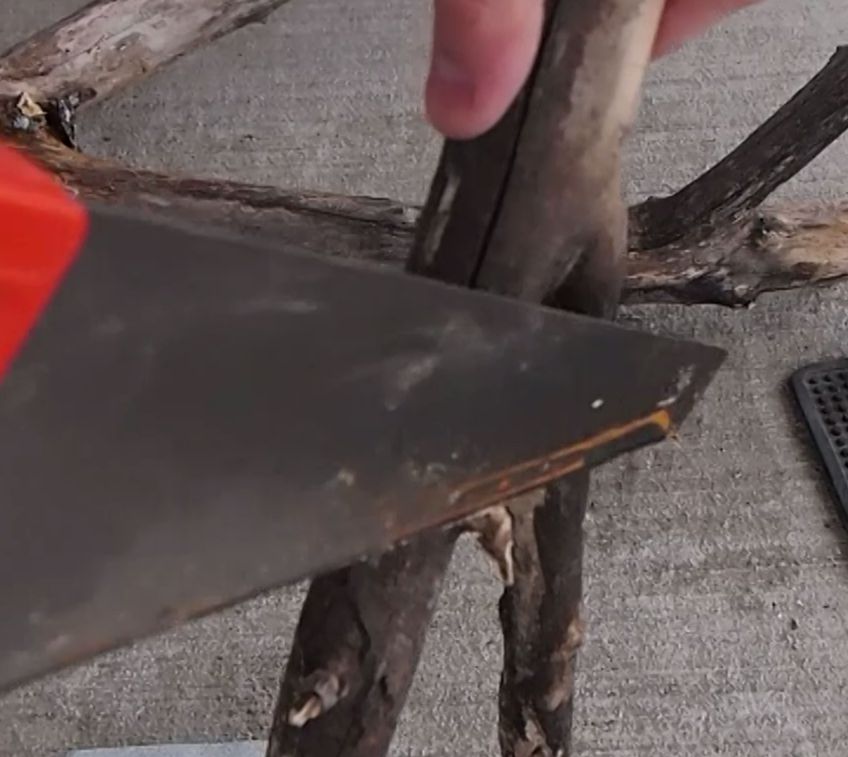
Remove any loose bark. Then, smooth out the entire branch, once with course sand paper and once with fine sandpaper.
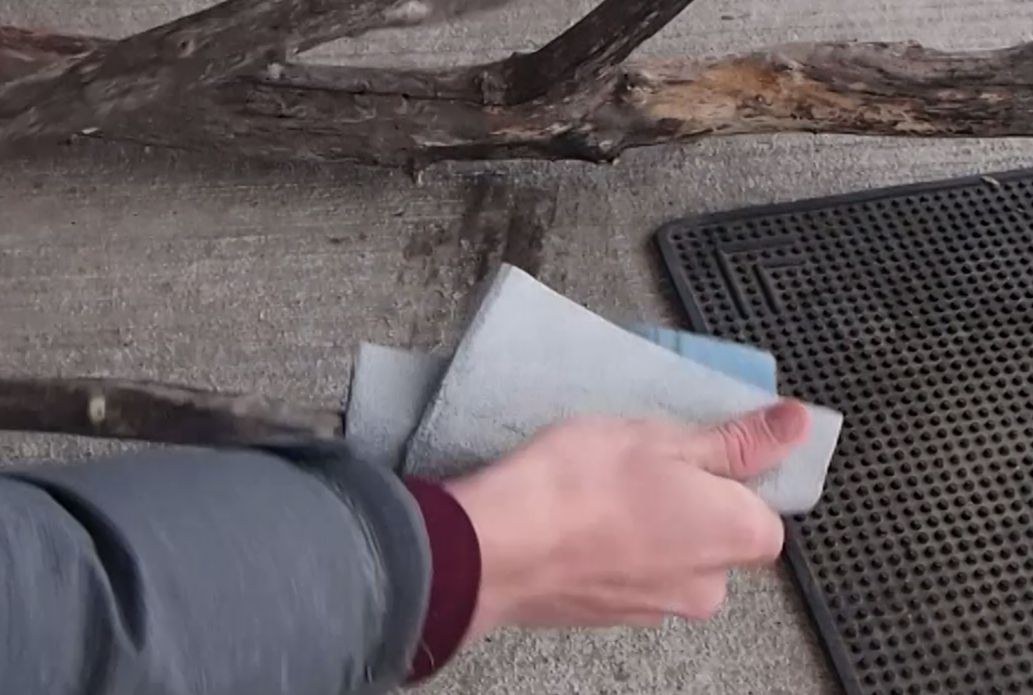
It is perfectly okay to leave some rough edges here and there as some animals will use it to scratch and/or shed themselves against, but you should remove anything that feels sharp to your touch.
How to Sterilize Wood for Reptiles: Method #1
If your branch is small enough to fit inside your oven, than you can follow the directions for Method #1 (and consider yourself lucky)!
- Set your oven to 250°F
- Set yourself a 10 minute timer (reoccurring)
- Place your branch in the oven and bake for 2 hours
- Check it every 10 minutes to ensure there is no charring


The heat of the oven will slowly kill any bacteria and microbes found deep inside the tissue of the wood. Using a higher temperature DOES NOT make this process any faster and increases your chance of starting a fire! I promise… 2 hours is not that long, especially considering how long Method #2 takes!
Once 2 hours has surpassed, pull the branch out of the oven, wait for it to cool off and you are done!

How to Sterilize Wood for Reptiles: Method #2
If your branch is too large to fit inside your oven then you are stuck with Method #2! This method is equally effective, but takes much, much longer!
- Find a barrel, bin or tub large enough to contain your branch.
- Fill the tub with water, roughly keeping track of the volume of water you are using. I use a pail to fill my tub to keep track, i.e. 10 pails full of water is around 30 gallons total.

Filling the tub, pail by pail - Add bleach, using a ratio of 1/3 – 1/2 Cups of bleach for every gallon of water. Make sure you use regular bleach, do not use any products that have additives for laundry use, etc.

Bleaching Reptile wood 
Bleach Ratio - Let the branch soak for a full 24 hours. If you have a portion of your branch that is above the surface of the water (like mine in the photo), change the orientation of the branch after 12 hours so the exposed portion is now submerged.

Bleaching reptile wood - After 24 hours, drain the tub of the bleach solution. You will notice the color of your branch will be lighter, the bleach pulls the tanins and pigments out of the wood. You now need to flush the wood to remove the bleach. Soak the wood for at least 48 hours in fresh water, change the water every 2-8 hours.

Flushing the bleach from the wood - After the wood has been flushed of the bleach you now need to let it dry. Wood will take anywhere from 3-5 days to dry depending on the size and the climate you live in. You MUST wait for the wood to dry out completely before adding it to your reptiles enclosure for one of two reasons: 1) If you add it to a humid environment it will never dry and likely grow mold or 2) if you add it to an arid environment it will spike the humidity of your enclosure for several days.


Adding natural wood to your enclosure can really enhance your animal’s environment and I highly recommend you do it!

We have 3 or 4 mimosa trees in our backyard. After doing some research they describe it online as a hard wood but I’m still unsure if this would be a safe wood to use. I know it’s not a common tree
Yep, I would say those would work just fine!
Are you sure, though? Because mimosa contains particular tannins, and other natural chemicals that are known to be toxic to Reptiles… ?😕
I also have a mimosa tree, which I know is toxic to dogs and other animals. At least the leaves and the blossoms are, because my California desert tortoise loves them but according to my research, is absolutely not supposed to eat them. He has, and it hasn’t messed with him at all… but probably because I stop him pretty quickly when I see him eating it.
Anyway, my question is more pertaining to the same as yours… I have the tree and I was wondering if it would be safe to use the wood for my cornsnake enclosure. I’m going to guess it’s probably not the best idea… Seeing as it is toxic to reptiles, such as the California desert tortoise when they eat the greens off of it… But I don’t know, technically speaking.
You’d be better off calling a veterinarians office that has a herpetologist or reptile specialist. The call won’t cost you anything, they will probably give you any information they have, and you can ask your questions and hopefully post back here… because I am curious as well.
Can ammonia be used if you don’t have bleach?
Honestly, I’m not 100%. I’ve used hydrogen peroxide in the past but not ammonia
Peroxide is probably the best thing to use. 7% peroxide and higher will kill crypto.
Ammonia will work. Just do the same as bleach.
Can I boil to sterilize because I will add isopods into the enclosure? I do not have an oven that sets the temperature.
Yep!
Hi Dillon,
Thanks for all the detailed info. The branches I have collected are perfect for the enclosure but super long. Do not fit in the oven, and some only halfway fit in the bath (I’ll do the flipping method as you have shown). I’m worried about the bleach leaving a residue or odor that will be irritating to my snake. Have you found that the bleach smell completely washes out? Thanks!
Yep, it definitely washes out! Plus it will evaporate over time. If you are worried, just let the log dry out for a couple of weeks!
So I’m in the process of doing this but I find my branches and sticks floating, and when I went to turn them at 12 hours they just popped right back over to the other side, I have a cooler on top on them in hopes to have them fully submerged for the remaining 12 hours. But my concern in the next 24 hours of soaking in clean water.
Will the bleach water still sterilize the parts that didn’t spend enough time in the solution?
Will the clean water completely get all bleach residue out if they are floating?
Yes, i think you will be fine. The bleach will leach into the wood that is exposed to the air, and so will the fresh water.
Does either method work if I want to leave the bark on a small branch for added texture? Also is rotating the branch in the oven needed as well?
Would you recommend the first method for a piece of driftwood found at the beach? It’ll fit into my oven but I don’t know the specific type of wood…
Yep, that should be fine!