Boa Constrictor Feeding Chart: When, what and how often should I be feeding?
Please send any questions to: hello@animalsathome.ca
Some of the most common questions surrounding boa constrictor care have to do with feeding. I would argue it is also the area where most mistakes are made.
Here’s the problem…
If you are like me, when you first started doing research on feeding you found 10 different answers that all contradicted each other. I know how frustrating that feels! In this post, I hope give you the tools you need to be able to solve this problem on your own. Why should you be able to solve it on your own? Because there are no two animals alike and you need to know what is best for your boa.
Also I have provided a FREE Boa Constrictor Feeding Chart to help you keep an accurate log.
Spoiler Alert: There is no simple, straightforward answer. Every animal is different, it is up to you to understand your animal’s behaviors and feed appropriately. First, we must lay down a foundation of information to properly address the question of feeding. But since you have your animals best interest at mind I know you will read through the entire post 🙂 I promise it will be worth your while if you are a newbie to all of this!
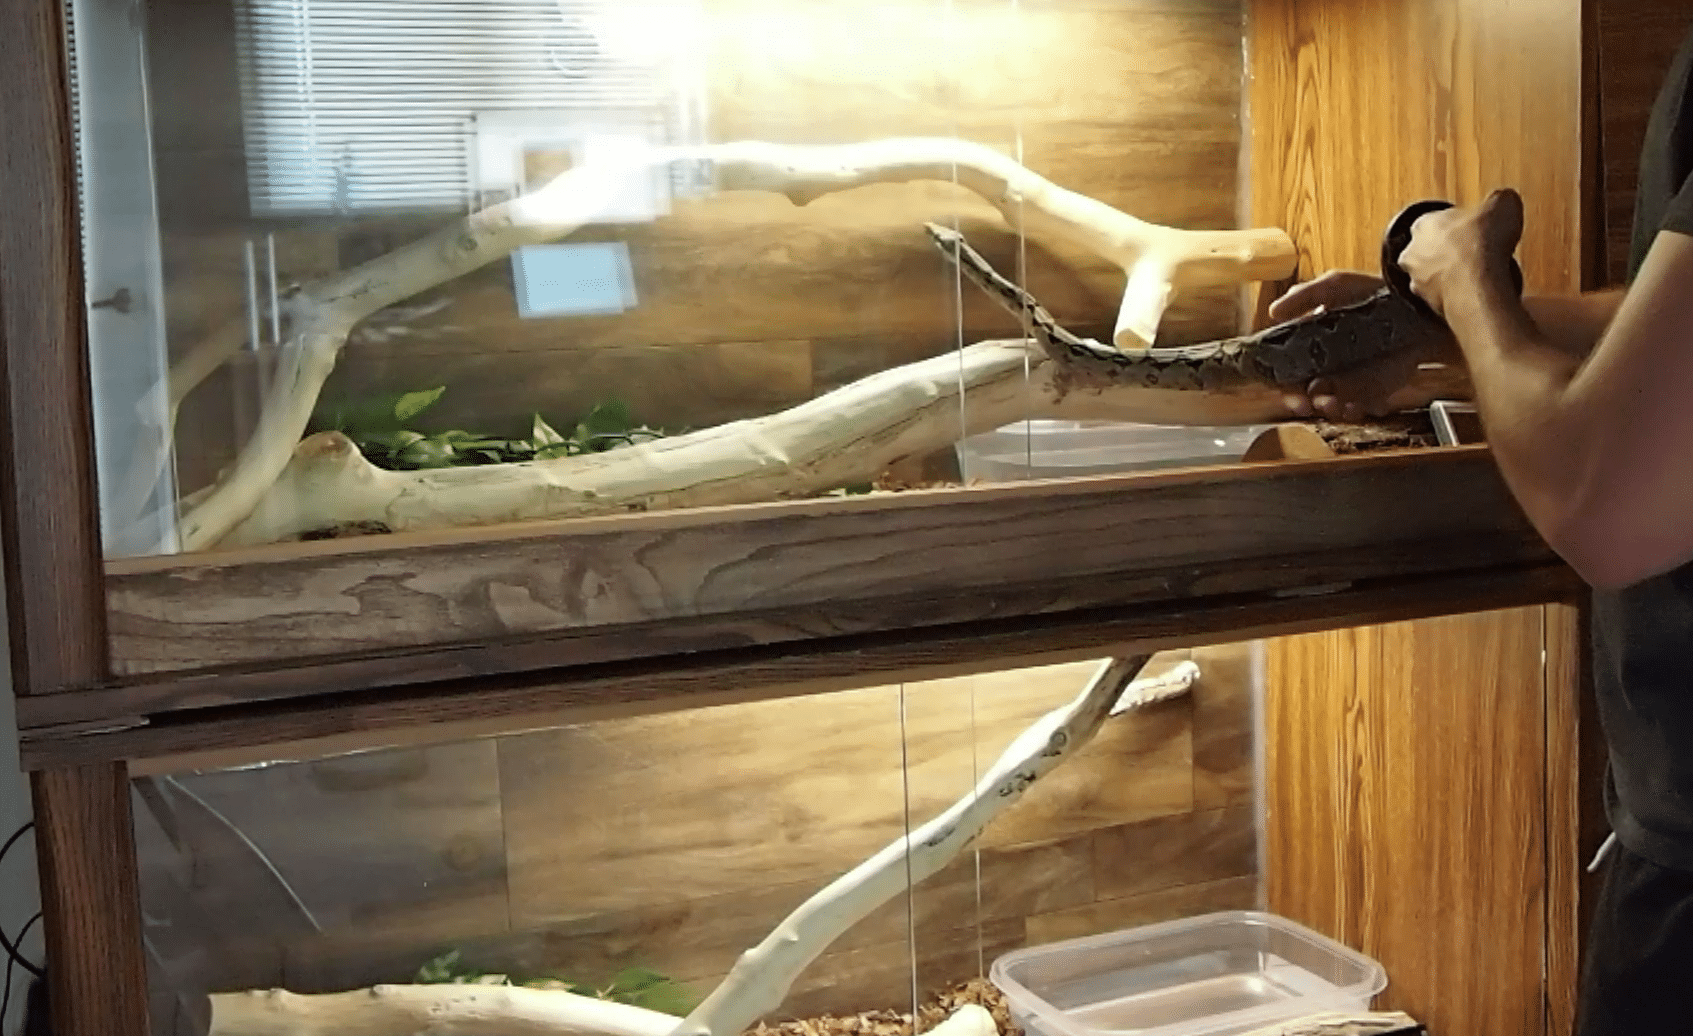
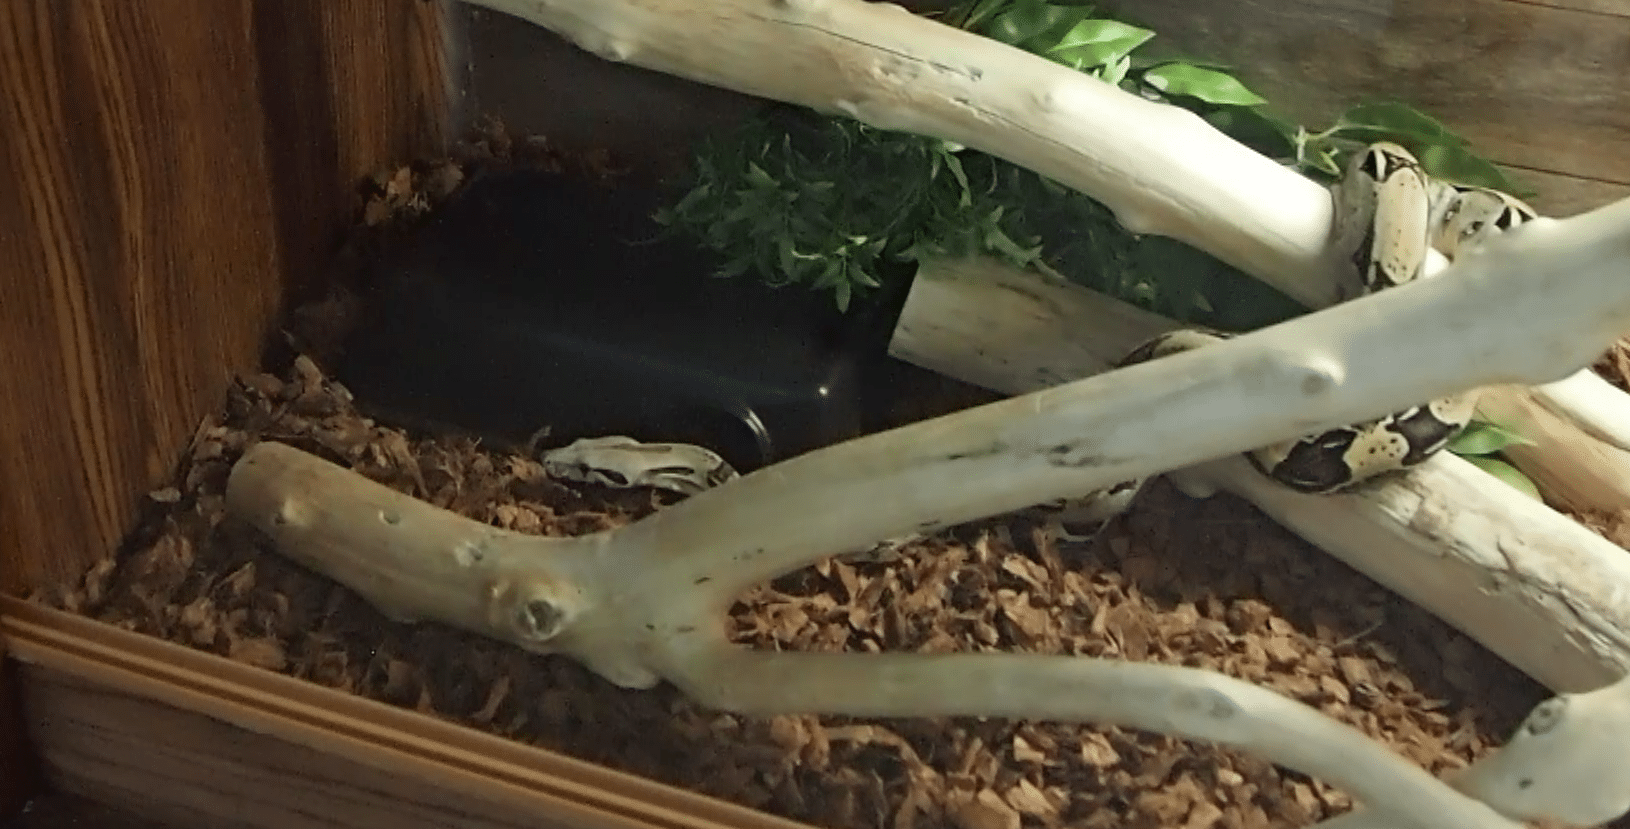
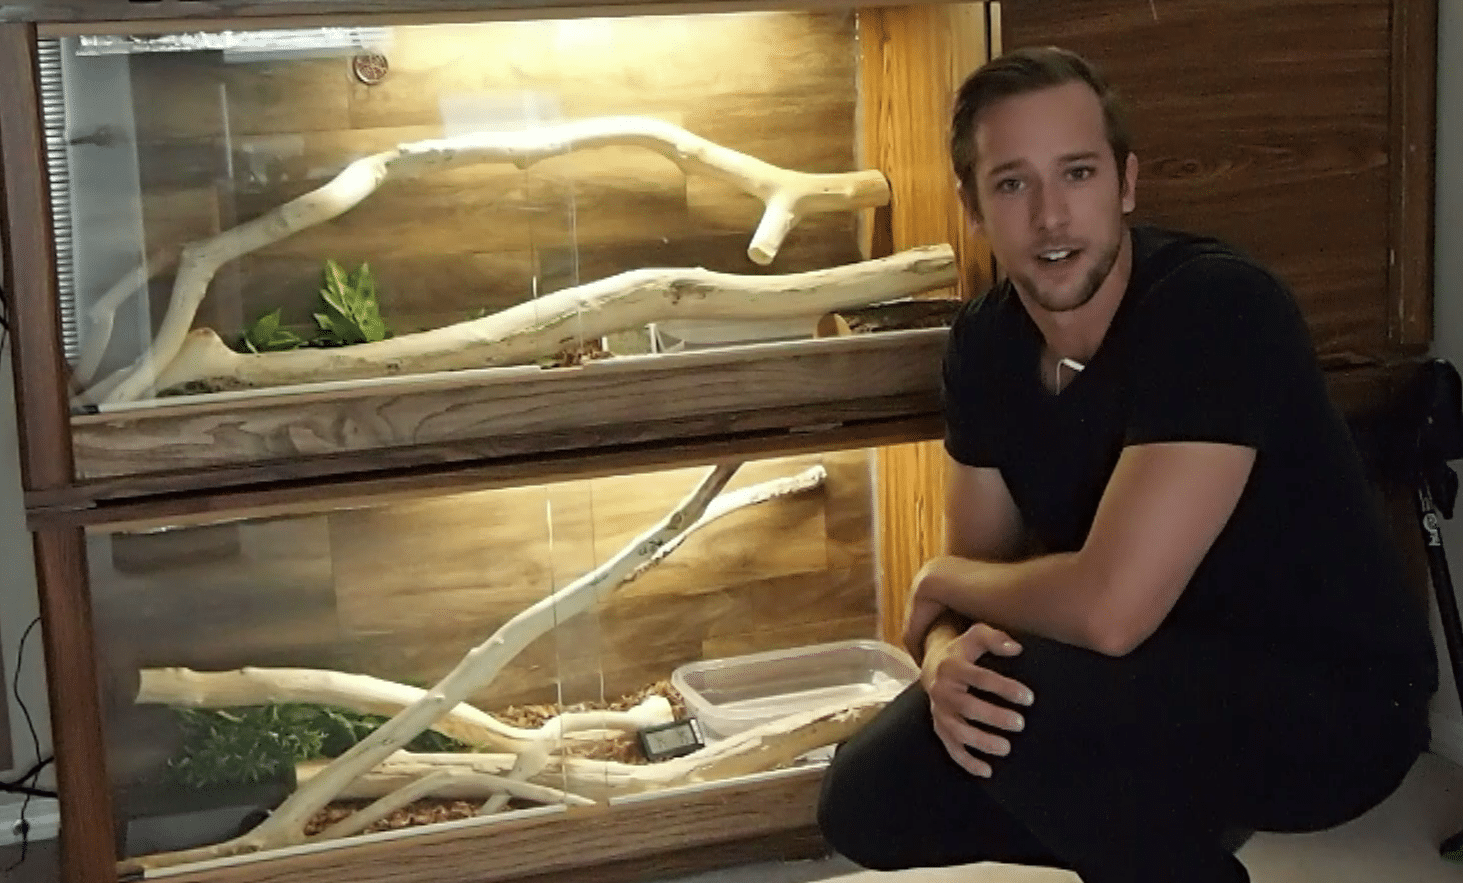
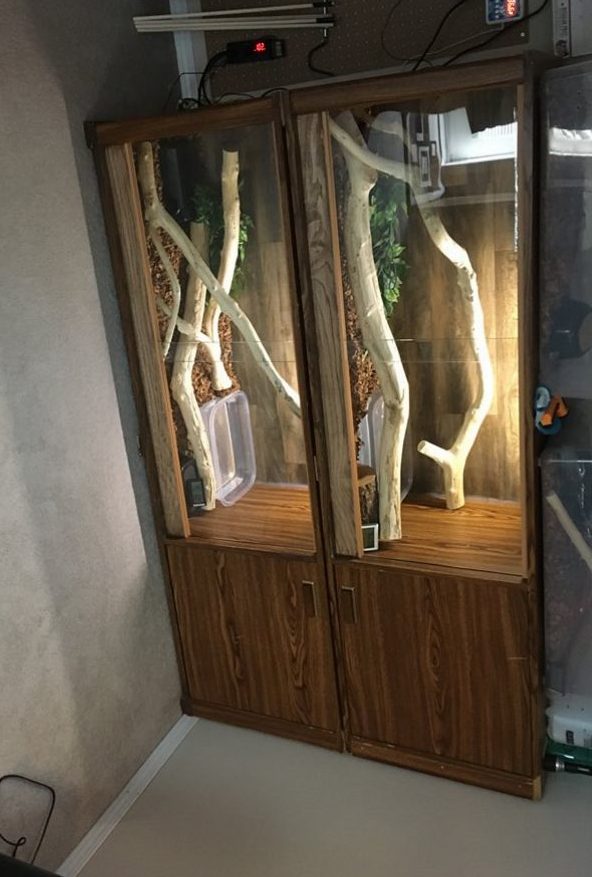
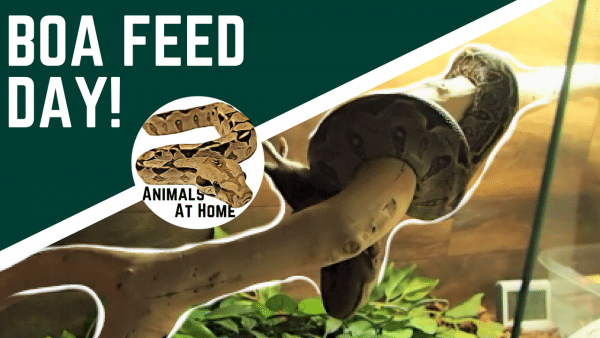
Before we start, Let’s watch some Boa’s Eat!
Feeding my snakes never gets old! Anyway, let’s get to the important stuff!
Here are the two main feed related questions:
- What size should the prey item be?
- How often should I feed?
In this post we are going to look at both those questions as well as some other important information that is often left out of the discussion!
Disclaimer:
First, I should say: I am not an expert! I am just sharing the experience I have had working with my animals. I also closely follow the care protocol Vin Russo, lays out in his book Complete Boa Constrictor. If you own a boa and don’t have this book… you need to get it! It is 100% worth the buy. Vin is a legend in the Boa world, he has more experience than most people in the industry and in my opinion his recommendations are very valuable. For my full review on the book, check out my Resources page.
Do you know what a healthy Boa looks like?
The first tool you should have in your arsenal is the ability to judge (by sight and feel) whether or not you have a healthy snake (by “healthy” I mean “a healthy weight”).
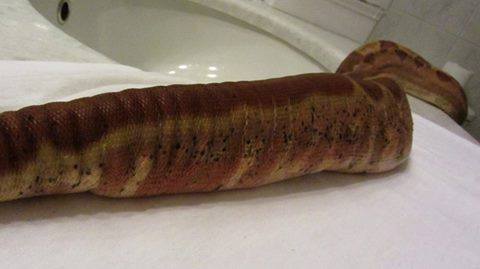
Overweight Boa constrictor:
It is pretty easy to make an animal fat! Boa constrictors are no exception. Over feeding a boa will quickly turn your boa into a stuffed sausage. It may sound funny but it is actually quite dangerous. Snakes are not adapted to be able to easily store large amounts of fat.
Here’s why:
Mammals (including humans) store both subcutaneous (under the skin) and intra-abdominal fat. When discussing human health, you have probably heard people say something along the lines of “internal (sometimes called visceral) fat is more dangerous than the fat under the skin”. This is a true statement for many reasons, none of which we need to get into here. Snakes , like most reptiles store the majority of their fat intra-abdominally. In other words, they are predisposed to only gain what we call “the dangerous fat” in humans.
The bad news is…
Internal fat is only visible once an animal is direly over-weight. Excessive wrinkling and “ring” shaped fat deposits are a sure sign of an over-weight boa. An over-weight boa will develop Fatty Liver Disease and die prematurely, period.
Here are some very fat boa’s so you know what to look for:
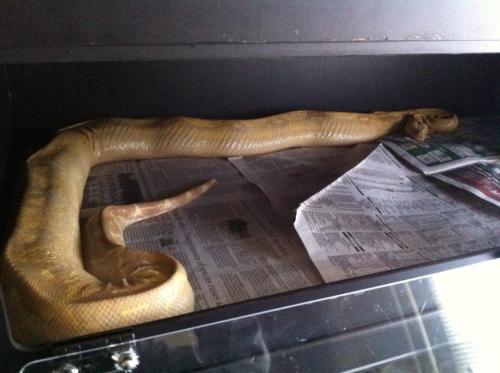
Underweight Boa constrictor
Having an under-weight boa due to poor feeding practices is a much less likely occurrence as boa’s have an incredibly slow metabolism and can go long period’s of time between meals. I would think an under-weight boa is more likely to be due to a parasite or illness in most cases. But it definitely does happen from poor feeding habits as well!
An under-weight boa will have a slight triangular shaped body, i.e. the spine will begin to show. It will also have a reduced muscle tone.
Side Story: Poor Feeding Routine!
Last year I “rescued” a 1- year old female Colombian boa from a lady who was selling her in the local classifieds. This boa was in rough shape. She was over 1 year old, covered in stuck shed and very frail. I have no idea where the lady got this information from but she was feeding the boa 4-5 mouse fuzzies (2-3 g each) per week!! She also did not provide the animal with any heat, I quote: “It’s a snake, they don’t need heat”. I thought she was joking, she wasn’t. This boa should have already been on 10-12 g hoppers at this point. So the snake was simultaneously being overfed and underfed, the meals were too small and too frequent. All that with no supplementary heat to aid digestion… it was terrible, some people don’t do an ounce of research.
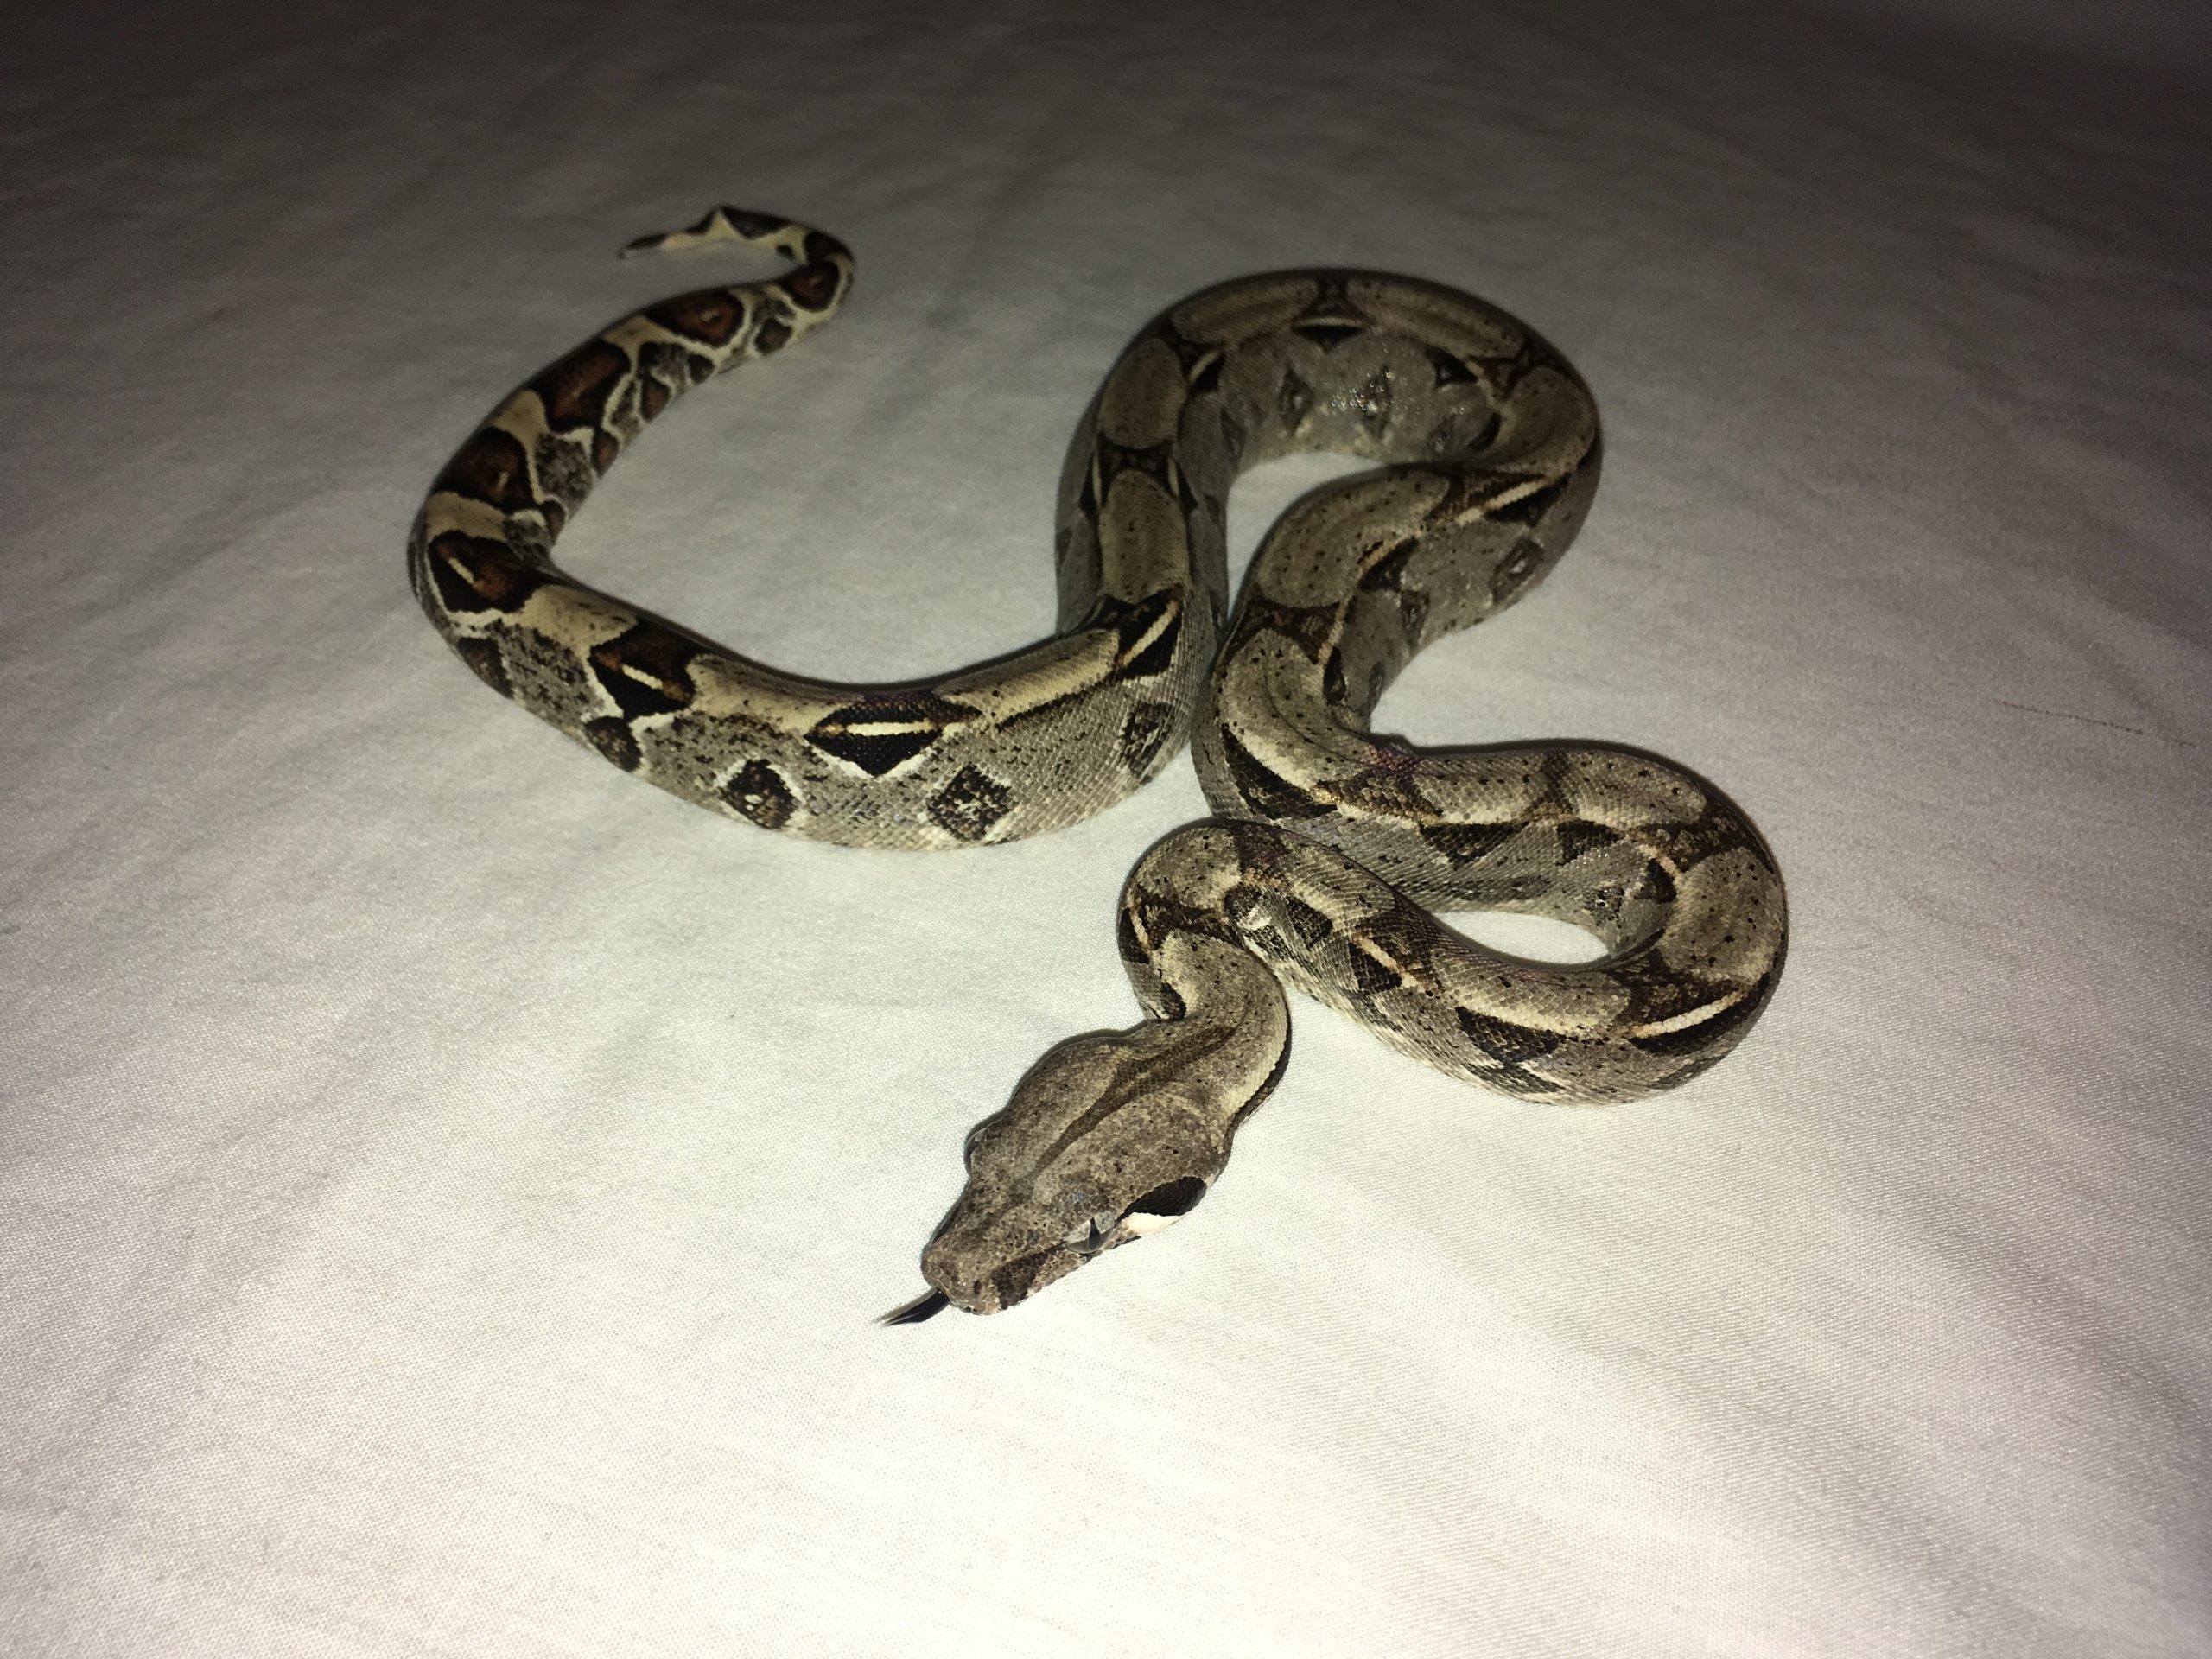
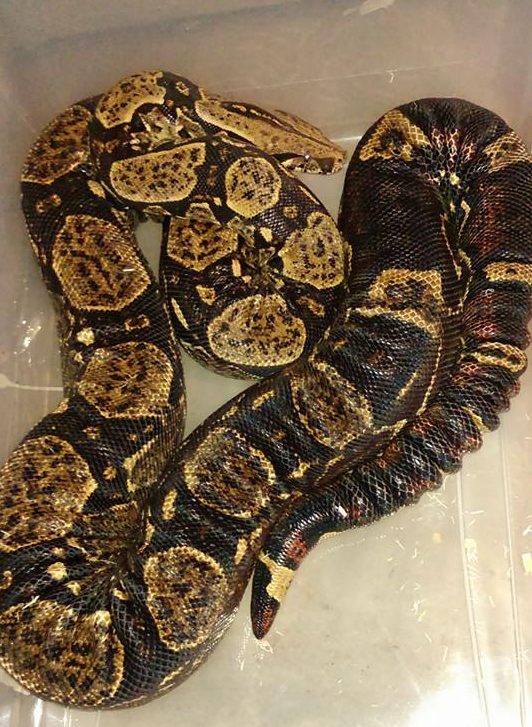
Healthy Boa constrictor
Boa constrictors are very muscular snakes. A healthy boa should have a square shape to their body (remember I am talking about boa’s specifically here, some species of snake are round in shape naturally), with a slight grove running down the center of the back (often described a loaf of bread). There should be no protruding spine and absolutely no rolls or fat rings (wrinkles in the skin are normal).
Here is the same from above boa 1-year later:
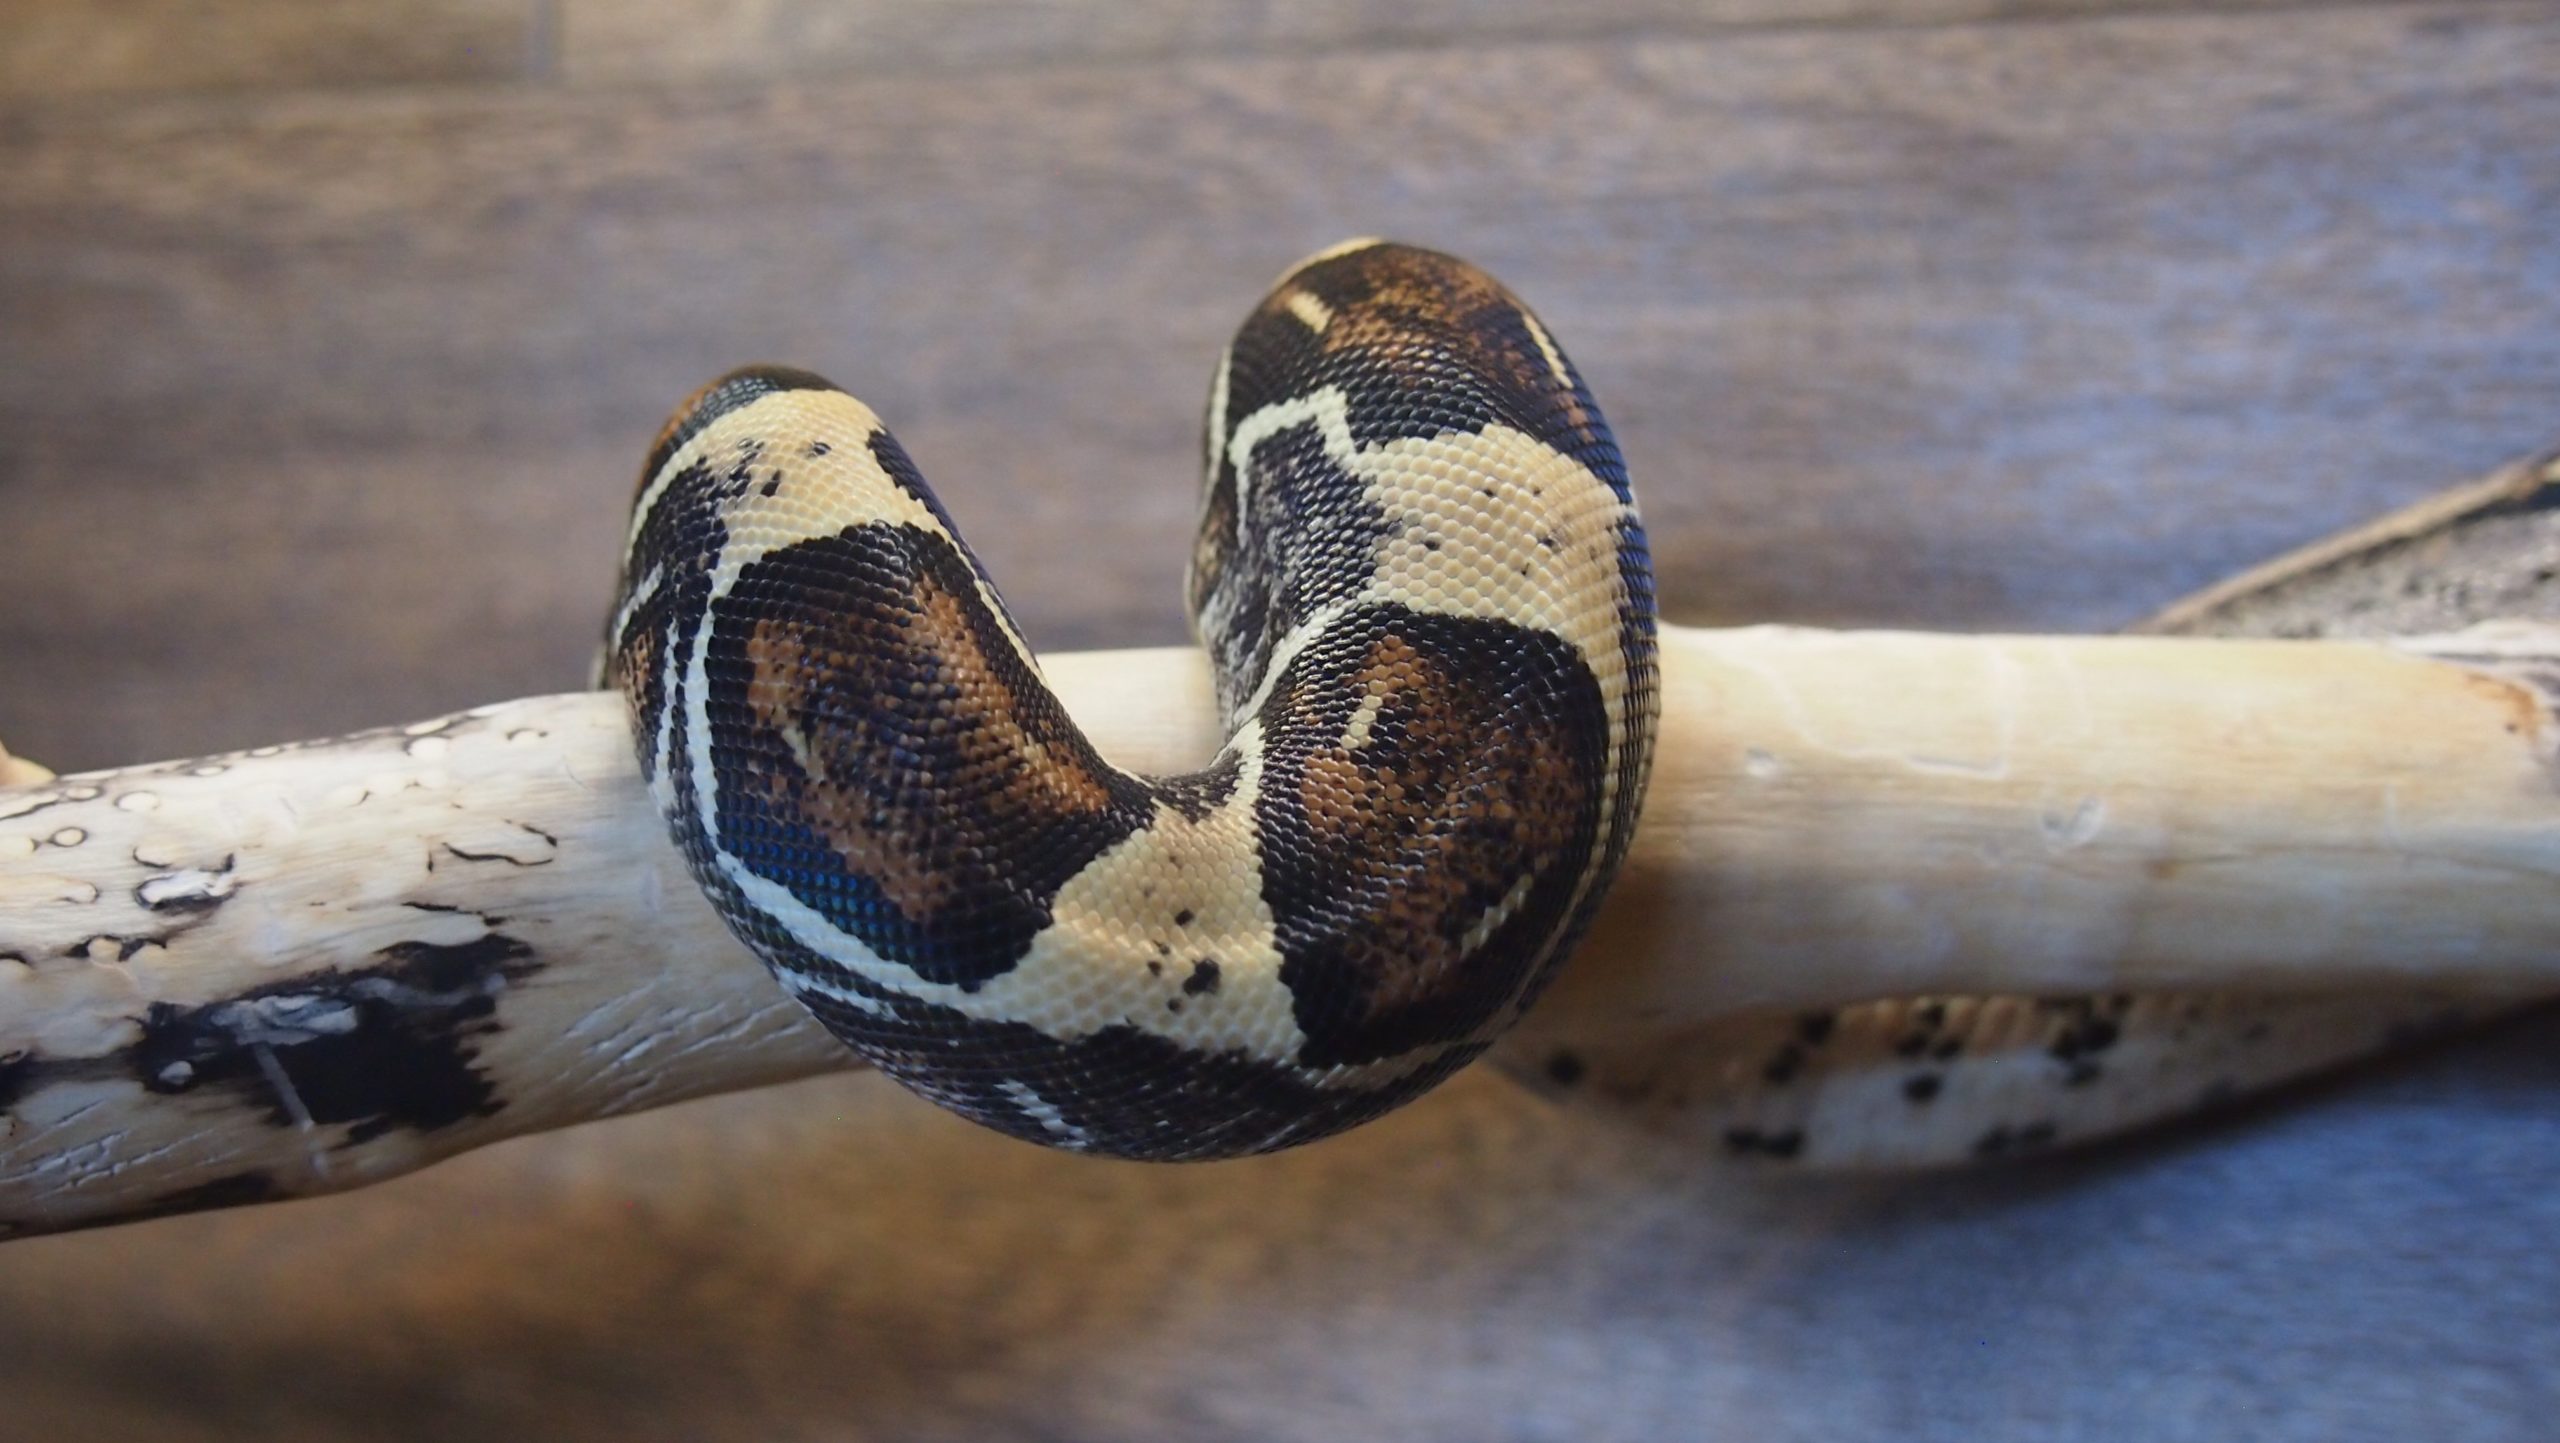
Note you can also see a groove running down the middle of the tail indicating lateral muscle development on the tail. Also note there are no wrinkles in the tail even though it is tightly coiled i.e. she is not over-weight.

The picture above should give you a decent idea of what is meant by the “square” body shape. Each side of the snake should be relativity flat. In other words the animal should be more shaped like a square tube than a round one.
It is also a very good idea to track the weight of your snake so you can monitor its growth.
Boa’s are not Human!
As much as some people like to think of their animals as “children,” it is very important to understand the biological differences between us and them!
So now that you have an idea of what to look for when judging the health of a boa constrictor we can review a few more vital pieces of information that will help you understand you boa:
- Ectotherms: Boas, like all reptiles are cold blooded (or ectotherms). This means they do not have to produce their own body heat, unlike you and I and all other mammals. Studies have shown that a snake can survive off just 10% of the food a mammal of the same size can (Snake, Chris Mattison). That is really an incredible stat, who know producing our own heat cost so much!

- Opportunistic Feeders: If you own a boa you know they are incredible eaters! Boa owners generally don’t have to deal with “fussy” snakes… unlike ball python owners. Boa’s will eat essentially whenever a meal “wanders” by. In the wild not only does this not happen often, they are not always successful when they strike. Your job is to mimic the wild conditions as much as possible. Your boa would likely take a meal everyday if you let it! This is where understand your snake’s behavior comes into play. Watch for when your boa starts to “hunt” i.e. comes out of its hide in search for food (usually at night), this is NOT a cue to feed but will indicate that it would take a meal and you can adjust your feed plan accordingly.For example: maybe you planned on spacing your boa’s meals out by 5 weeks. But on week 2 there was a bit of a heat wave outside and your animal’s enclosure went up a degree or two, speeding up its metabolism… now its week 3 and the boa is out every night looking for food. This is scenario where you might think about feeding it after 4 weeks instead of 5.
- Seasonal Eaters: There are natural temperature shifts present in the habitats boa constrictors are native to. As the climate cools in the winter two things occur. 1) A boa’s metabolism will slow down, meaning it will take longer to digest meals. This automatically stretches the time between meals. And 2) there are less options food items available to eat (some animals migrate to warmer climates, some burrow , periods of dormancy etc.). Both reasons cause boas to consume less food in the winter/cooler months. Seasonal eating (eating in summer, and little to none in winter) is so important to a boa’s biology that it induces the most important behavior of them all: breeding. This is why I seasonally feed my boas (even though I don’t plan on breeding). I want to properly replicate the conditions the snake’s biology is adapted to.*
*You do not HAVE to seasonally feed and ONLY seasonally feed your boa if you provide a temperature drop during the winter months*
Boa Constrictor: What Size to feed & how often?
Now you can see why this is not a simple question to answer! However, with the information above we can tackle those two common questions I listed above:
1)What size should the prey item be?
The prey item should be no thicker than the the thickest part of the animal! At the most, the meal should produce a slight lump. I know that is not a clear-cut answer. Below I have a chart that indicates the size of prey and the weight of my male boa at the time (He is 50% Colombian/ 50% Sonoran, i.e. he will be smaller than a normal common boa).
| Prey Type | Prey Weight (g) | Boa Weight (g) |
| Hopper Mouse | 8-12 | 67- 155 |
| Medium Mouse | 17-20 | 155-222 |
| Jumbo Mouse | 27-35 | 222-332 |
| Weaned Rat | 35- 45 | 333-455 |
| Small Rat | 50-85 | 455- 725 |
| Small Rat (Large ones) | 85- 105 | 725- 1026 |
| Medium Rats | 120- 140 | 1026- 1118* |
*This is his current weight at 3 years old. I will update the chart as move up in prey size.
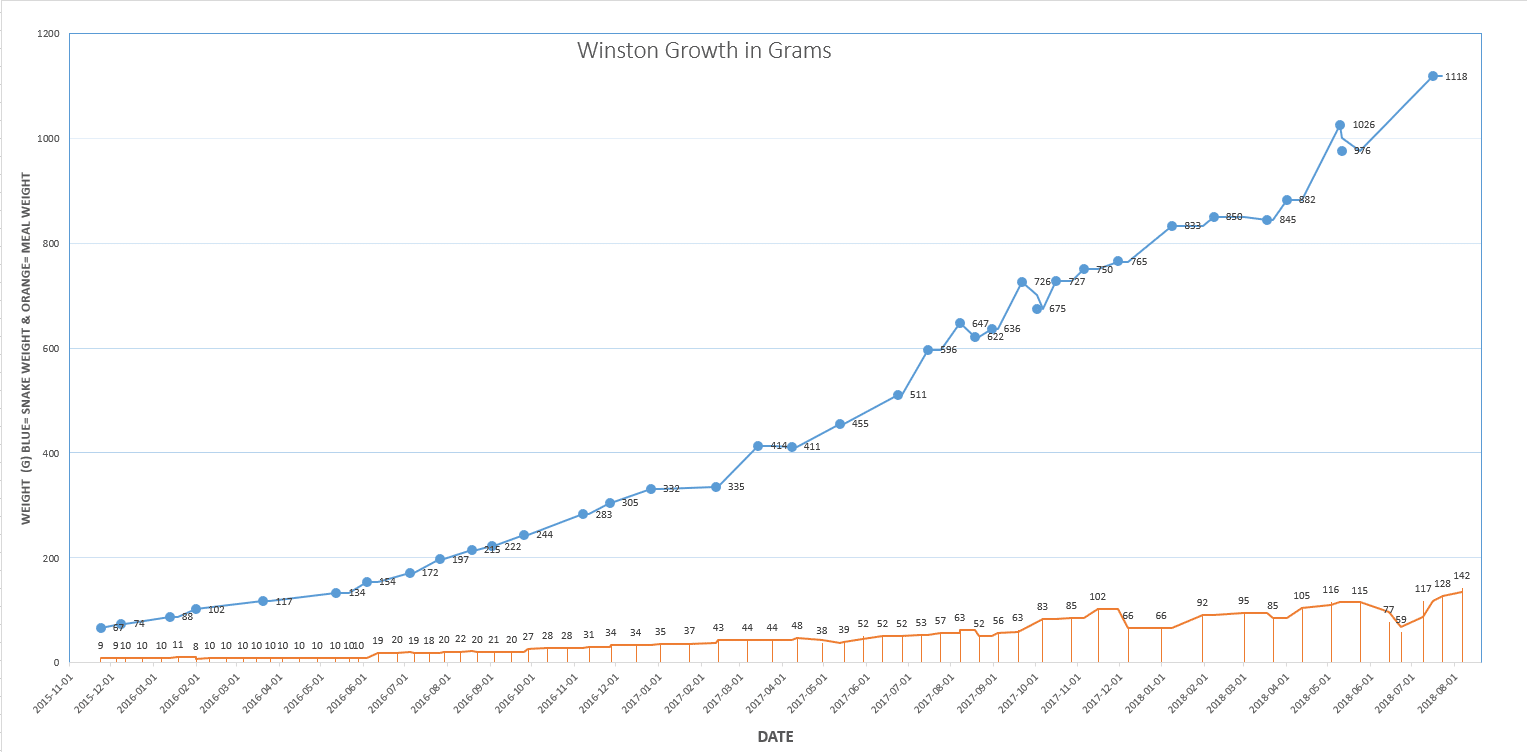
Y-Axis: Blue Line= Boa’s weight (g) and Orange Line= Meal Size (g)
Also please note: this is the way I fed! It is not an exact science, so don’t feel you need to follow this exactly. It is just a general idea. Try your best to pick a meal size that is slightly smaller or equal to the thickest part of the animal.
2) How often should I feed?
Again, I will show you a breakdown chart of the feed schedule I have followed with by boas and what I plan on doing in the future as they mature. This chart indicates the days between meals in the two right hand columns. Note: I always transition from the “summer” to the “winter” feed schedule and visa-versa. I.e. I always gradually increase space between meals until I get to where I am shooting for.
*ONLY seasonally feed your boa if you provide a temperature drop during the winter months*
| Boa Age (yrs) | Summer (days) | Winter (Days) |
| 0 (neonate in summer) | 7-10 | 10-14 |
| 1 | 14 | 21 |
| 2 | 14 | 30 |
| 3 | 21 | 42-45 |
| 4 | 30 | 70-90 |
| 5- and up | 30-37 | 90 |
The chart above is a rough outline of how I feed my boas! This does not mean you should follow this exactly. Reason being is there are many factors that could alter how often you feed, the most important being temperature. The warmer you keep you boas, the faster their metabolism is, the more you’ll have to feed.
You need to watch your animals, learn their body language. If you never see your boa “hunt” (i.e. exploring their cage at night, or perched somewhere waiting for a meal to walk by) you may be feeding to often. If they start hunting one day after you feed, you may not being feeding large enough meals. Watch their weight, look and feel their body tone, these are all good cues to keep your feeding schedule in line.
The take away is this: The chart above is a general idea of what a feeding schedule should look like, but you need to be in-tune enough with your animals to know how to adjust it for their benefit.
Boa Constrictor Feeding Chart
Okay, last but not least! I personally think it is VERY important to keep a log book for you snakes. Especially if you have more than one or two! Boa constrictors are not hard to care for, but it is important that you stick to a proper care plan. A log book can help you do that.
It can be very easy to forgot when you last feed you animal if you didn’t write it down. I always lay out a rough feed plan for 2-3 months in advance (so I know how many rats to buy) and as I feed I make sure to log it so I don’t forget. I HIGHLY recommend you start doing this if you are not already!
Logging your boa’s meals will help pull you in-tune with you animal. It gives you something to refer, especially when trying to figure out the animals behavioral patterns.
Below I have shared a PDF of the boa constrictor feeding chart that I use to keep track of food intake for my boas. I print these sheets out and put them in a binder (I like writing things by hand), but I also made the PDF fill-able so you can keep a digital copy instead. Please help yourself by clicking the photo or link below!
OR Click this link: Boa constrictor feeding chart
Thanks for reading. If I had to sum this up in a few points I would say this:
- There is no clear-cut, black and white answer to feeding
- You can follow a general guide BUT you must stay in-tune with your animal by:
- Watching body tone, keeping track of weight
- Reading body language- remember the act of hunting itself is not a cue to feed, but hunting can indicate if you need to adjust your estimated feed plan.
- KEEP track of your feeding! I can’t stress that enough. The only way to help you learn your animal’s body language and habits is by keeping a proper log so you have something to refer to.
If you have any questions, comment them below or shoot me an email!